Zapier
To connect Zapier to AmazingHiring please ask your account manager to activate this integration for you.
To start your first workflow in Zapier you need to create a trigger that will initiate a sequence of actions involving different platforms and applications.
There are two triggers that are currently available for our users:
When a new candidate has been added to a folder
When candidate's status has been changed
To set up a trigger go to the “Choose App & Event” section and choose either the first or the second Trigger Event.

Then you need to connect your AmazingHiring account to the platform. In order to do that, just click on “Sign in” button and use your credentials to log into the system.
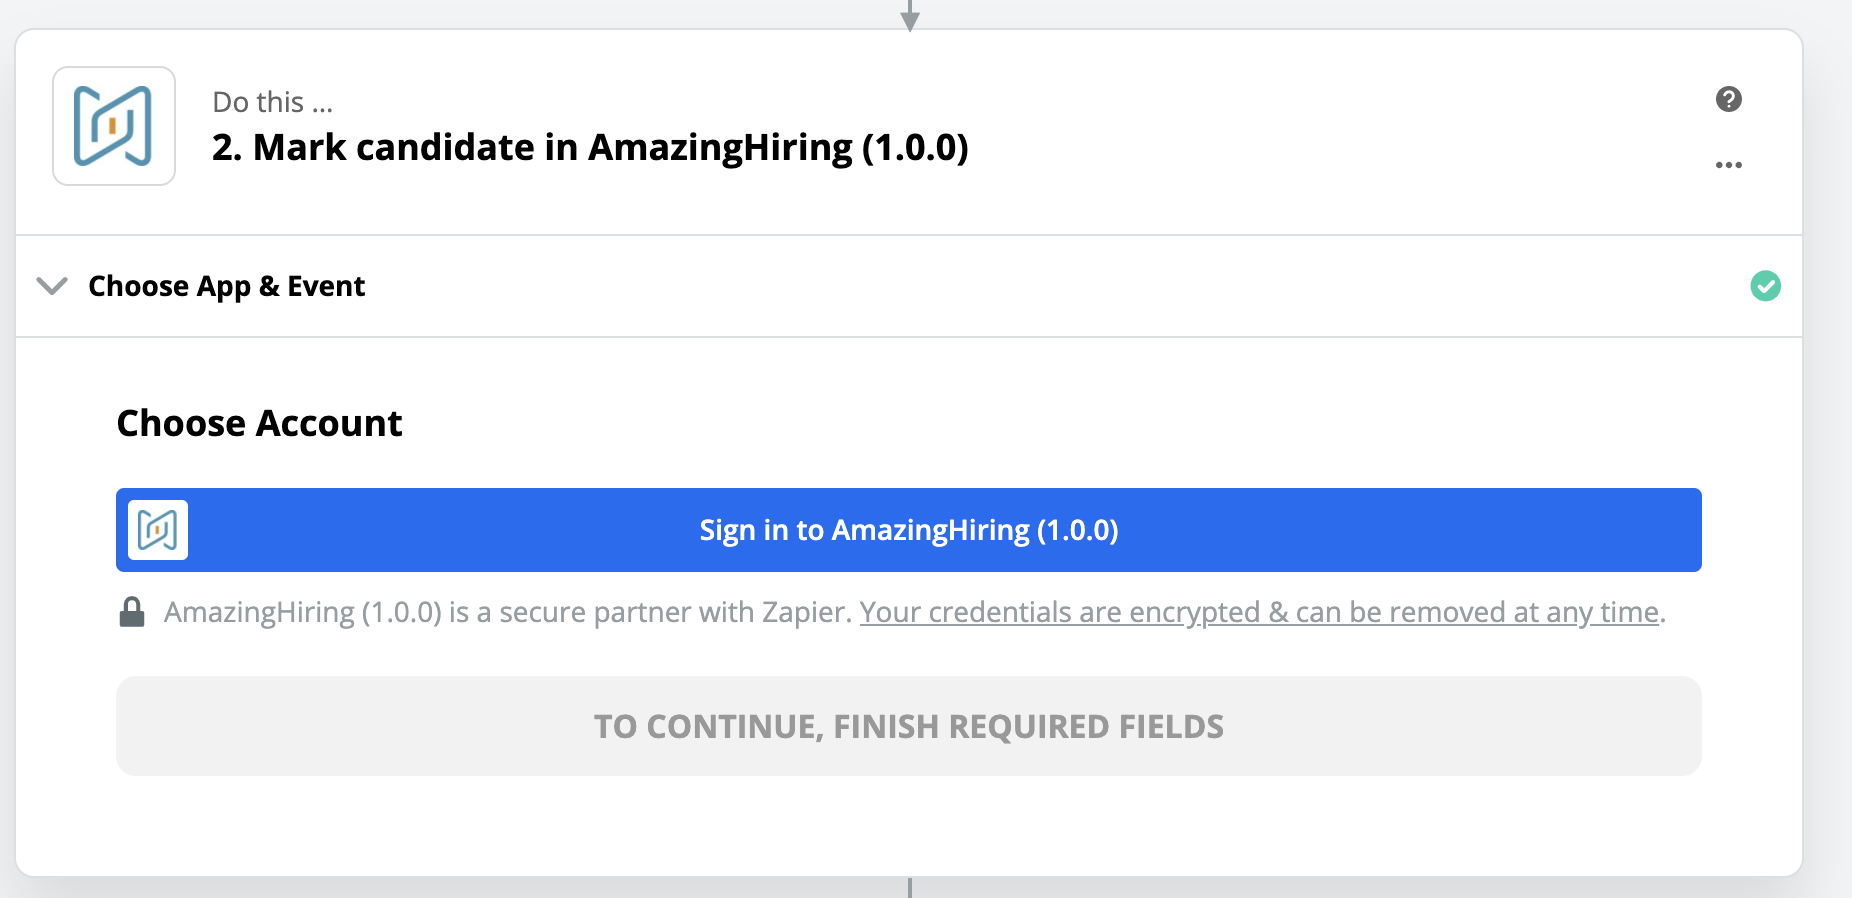
Give Zapier a permission to access your AmazingHiring account.

After you have done this, go to the “Customize Candidate” section and choose folder ID from a drop-down menu to set up the first trigger.

To set up the second trigger, you also need to specify the status you want to work with. You can choose customised status as well.

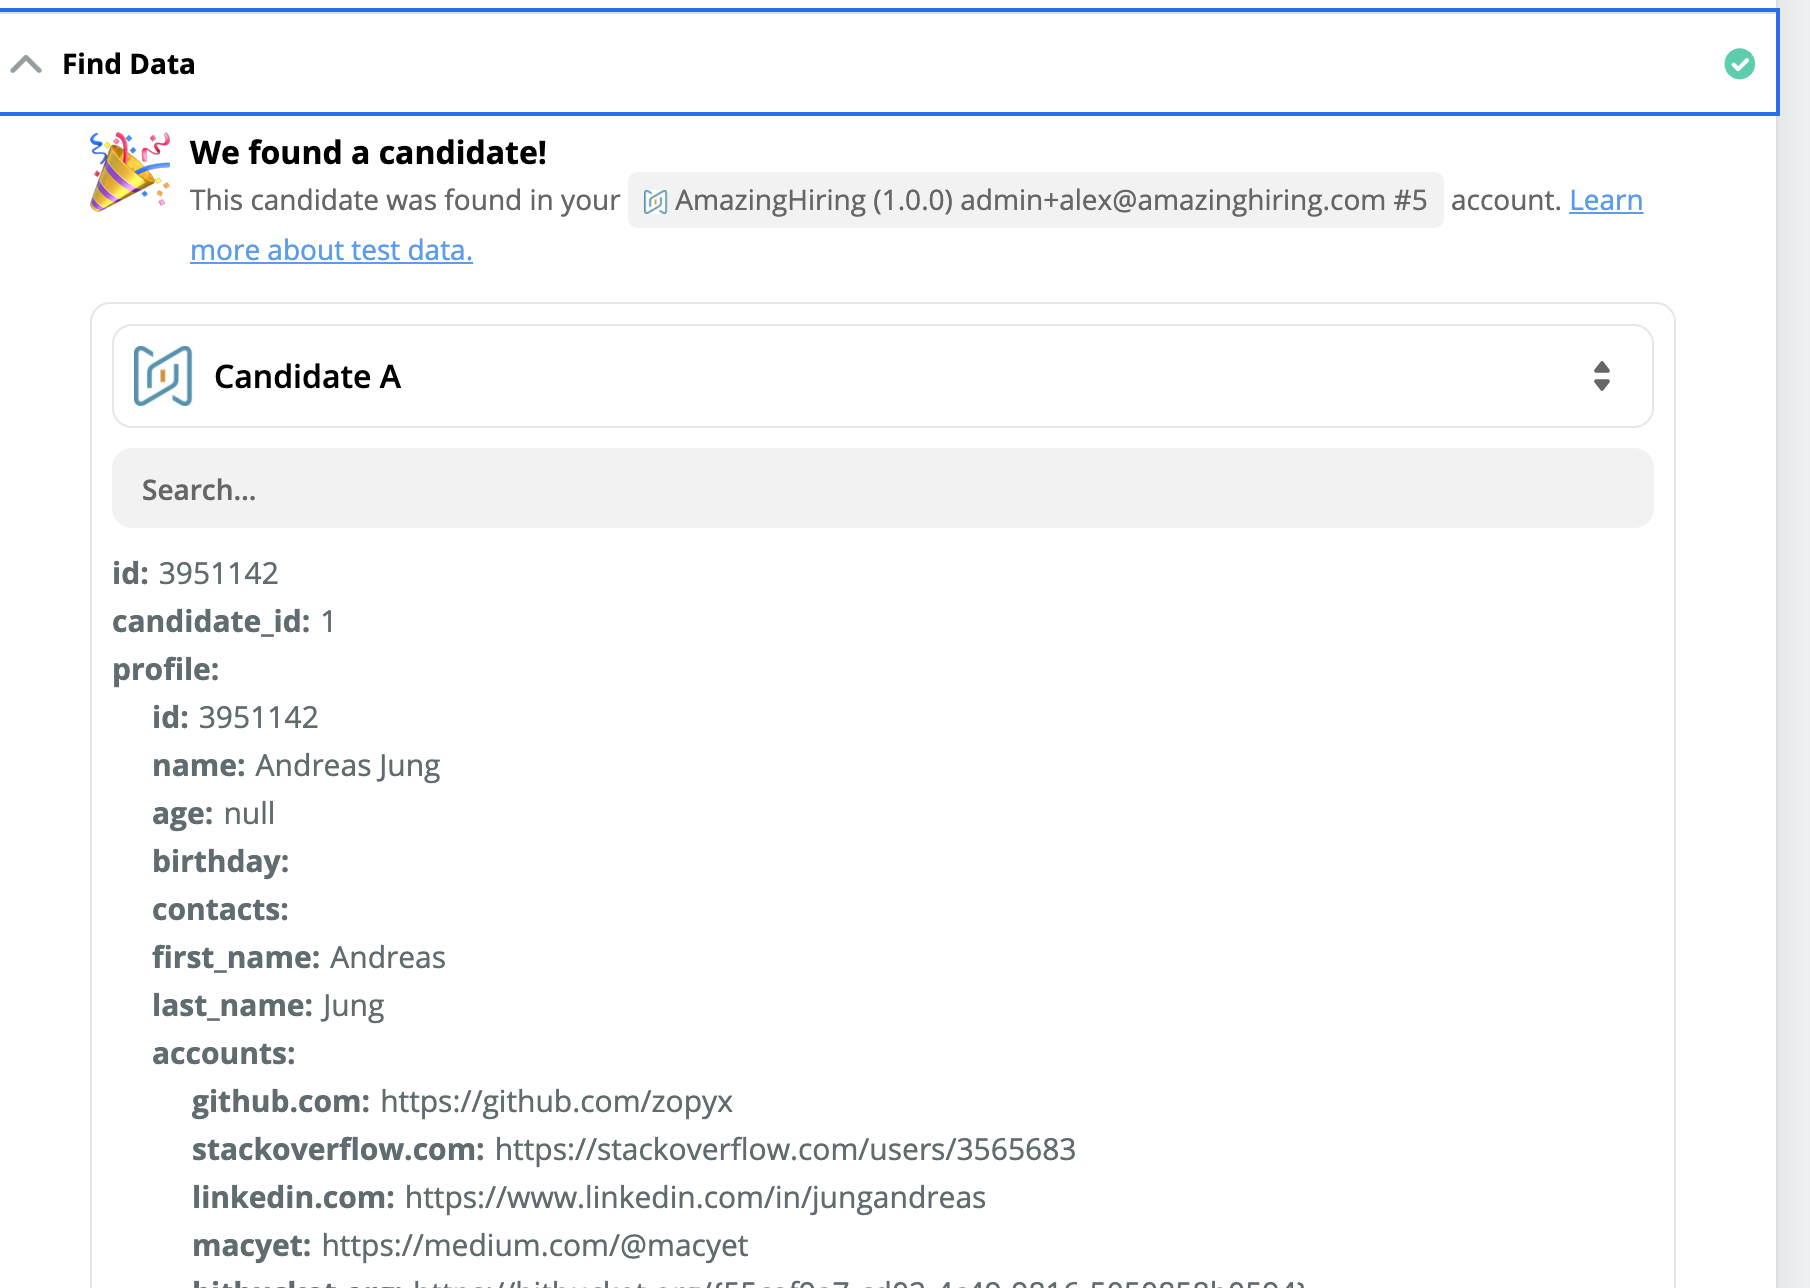
Finally, you might want to test the trigger and check if it works correctly.
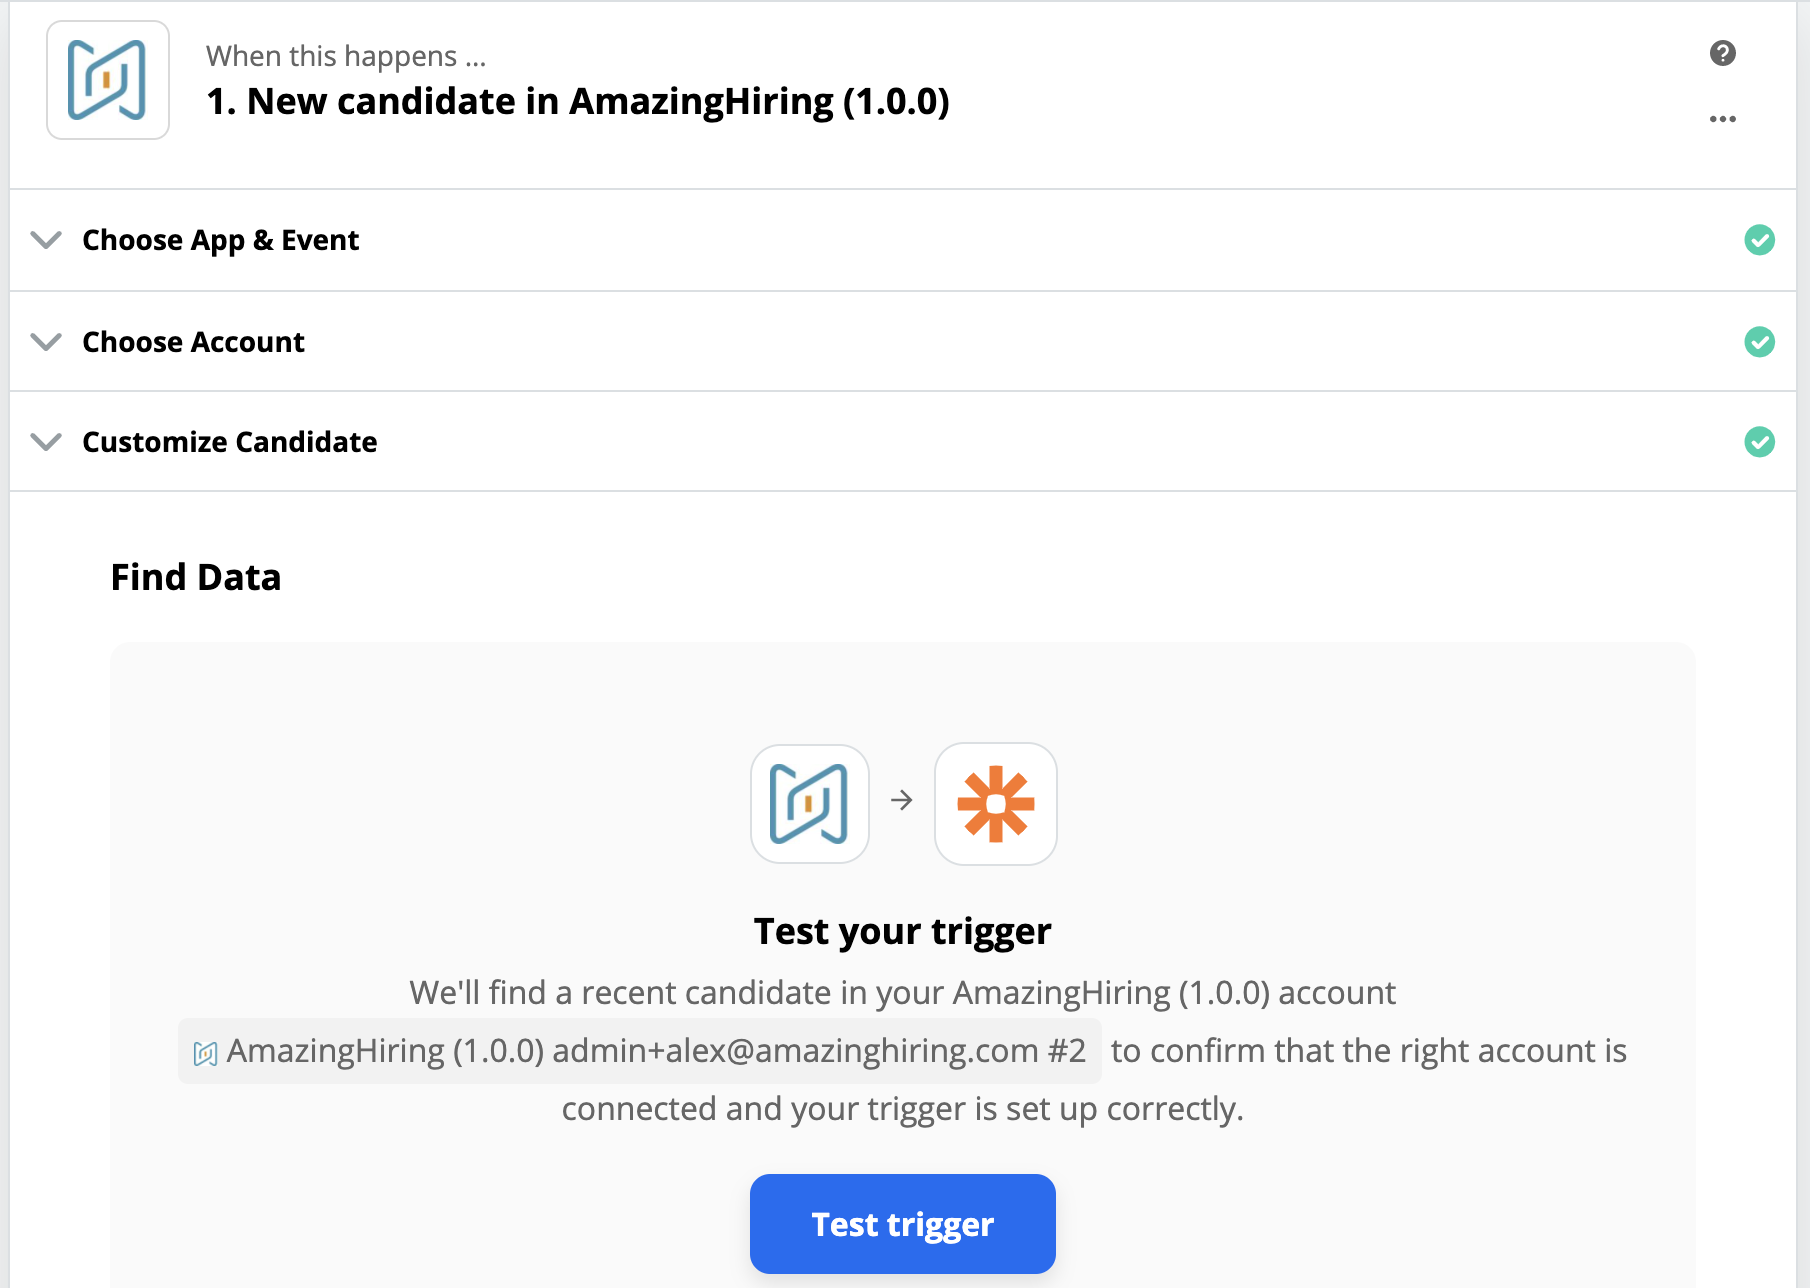
If everything is fine, the information about a candidate from the chosen folder will be shown to you. If not, Zapier will notify you about this.
After the trigger is set up, a sequence of actions can be performed. To create these actions you are allowed to use different applications, filters, delays, conditions, etc. It’s important that you work only with compatible activities, so the data could be sent from one app to another.
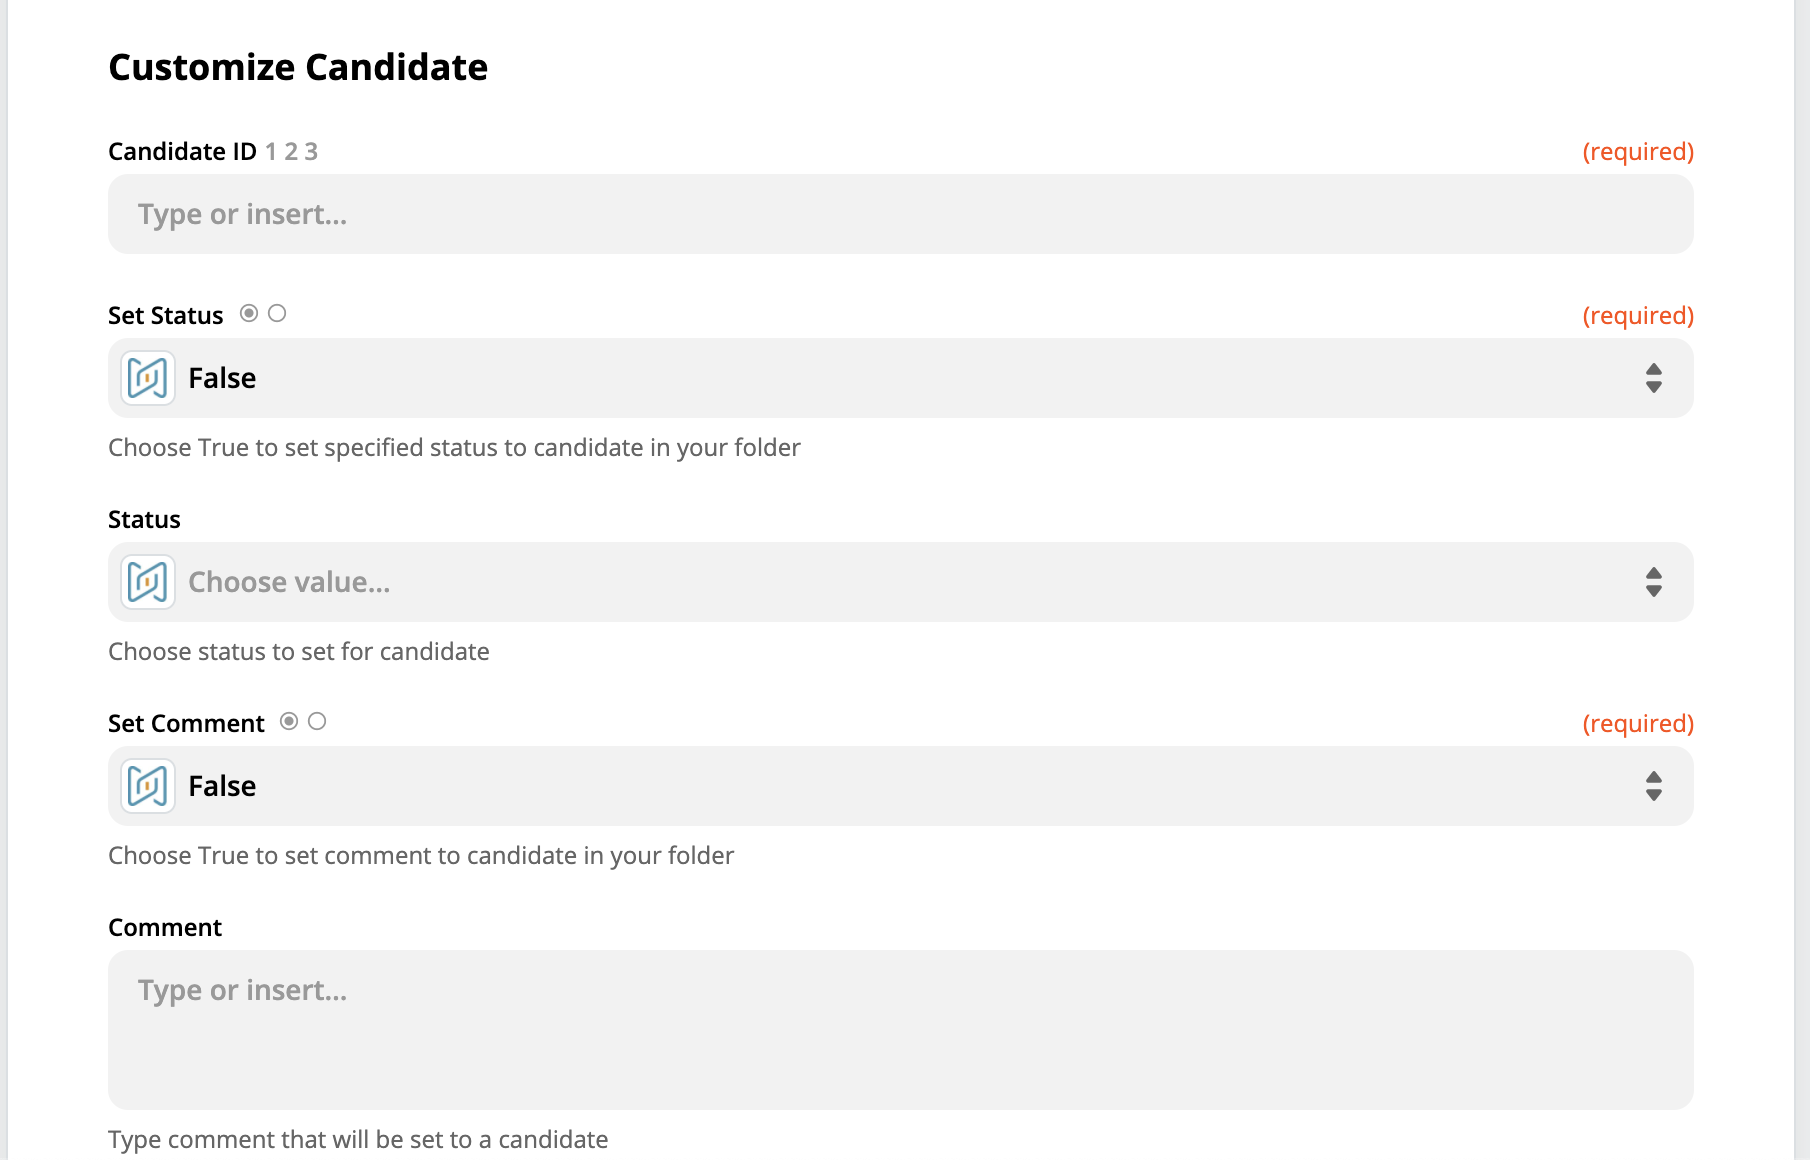
Currently, the only action that can be executed in AmazingHiring is to mark a candidate by changing their status, leaving comment or tag. You can execute this action only after setting up one of above-mentioned triggers.

You need to follow the same basic set-up steps to create an action. First, select your connected AmazingHiring account, then configure the action and finally test it.
In the settings form, you can specify how you want to mark a candidate (set comment, status, tag, or all of them). The “Set Status”, “Set Comment” and “Set Tag” fields are responsible for this specification. If set to False, the setting will be ignored.
Setting status
You can choose from the statuses that are available in the folder where the candidate was added.Setting comment
You can type anything in the text box and this text will be added to the candidate’s profile. This comment is only displayed inside the folder, so you can’t see it in the profile in the search output.Setting tag
Every tag should be entered in a separate line.